Settings
 Fast Delivery
 Payment Types


 Marketplace Product

Arduino and VL53L0X Time-of-Flight + OLED Display Tutorial
2026-08-26 | By Ron Cutts
License: GNU Lesser General Public License Distance Microcontrollers Arduino ESP32
In this tutorial, we will learn how to display the distance in mm using the VL53L0X time-of-flight sensor and OLED display.
Watch the video.
Learn more about Visuino: What is Visuino
What You Will Need
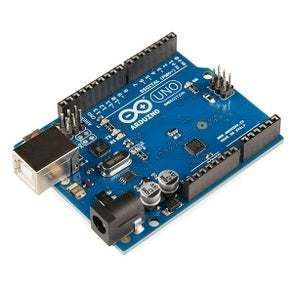
Arduino UNO (or any other Arduino)
Visuino program: Download Visuino
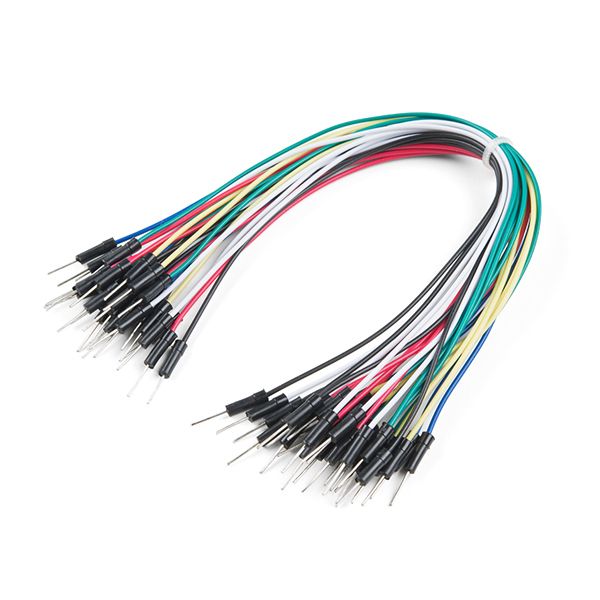
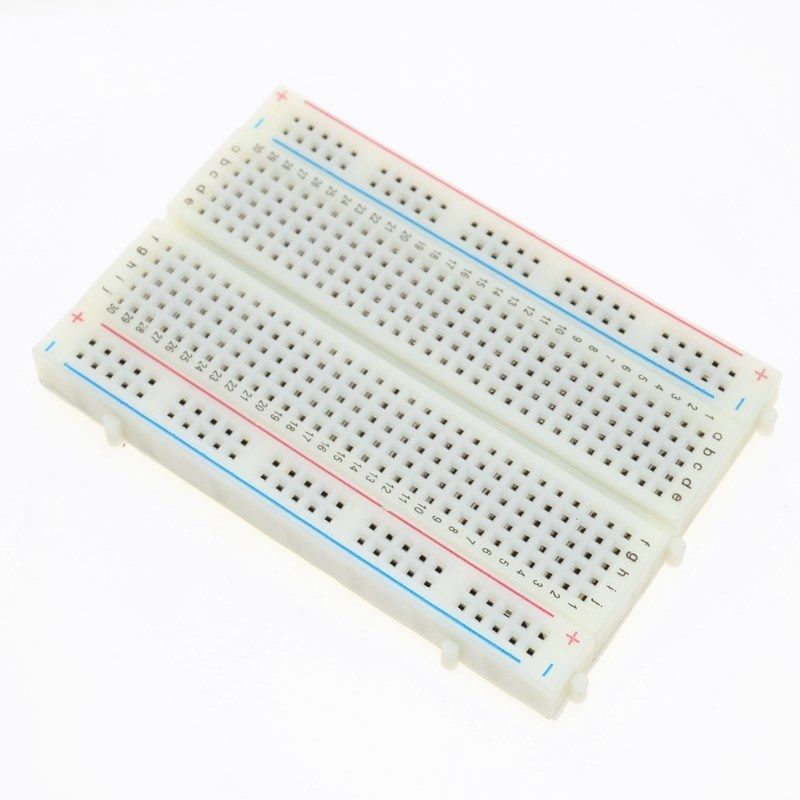
The Circuit
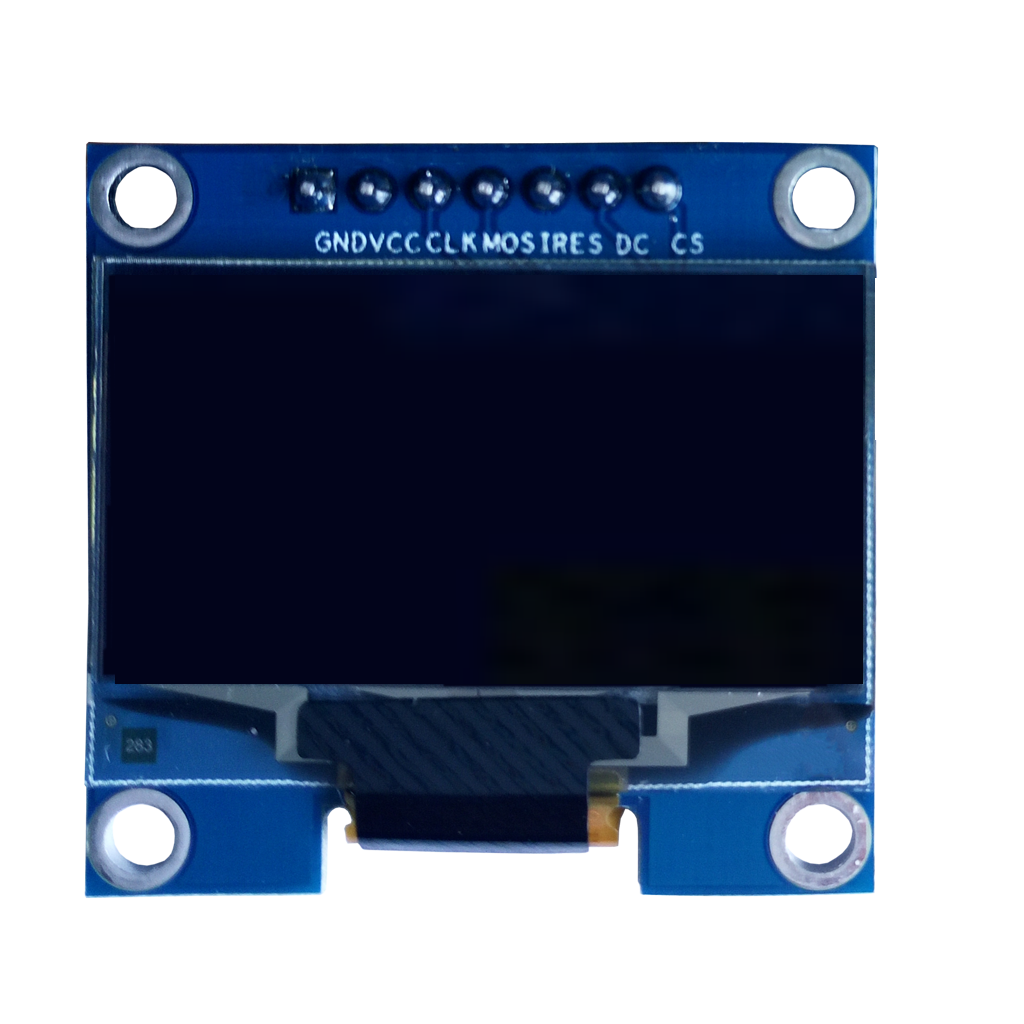
Connect OLED Display pin (GND) to Arduino pin (GND)
Connect OLED Display pin (VCC) to Arduino pin (5V)
Connect OLED Display pin (SCL) to Arduino pin (SCL)
Connect OLED Display pin (SDA) to Arduino pin (SDA)
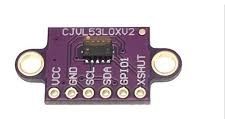
Connect VL53L0X sensor pin (GND) to Arduino pin (GND)
Connect VL53L0X sensor pin (VCC) to Arduino pin (5V)
Connect VL53L0X sensor pin (SCL) to Arduino pin (SCL)
Connect VL53L0X sensor pin (SDA) to Arduino pin (SDA)

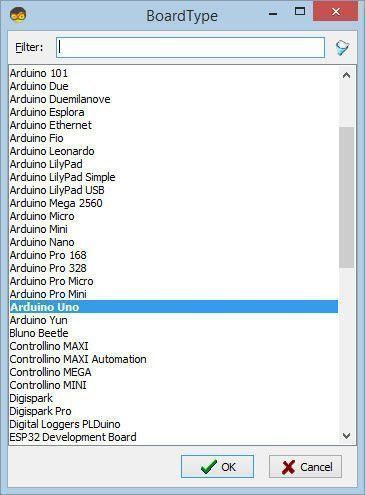
Start Visuino, and Select the Arduino UNO Board Type
To start programming the Arduino, you will need to have the Arduino IDE installed from here: http://www.arduino.cc/.
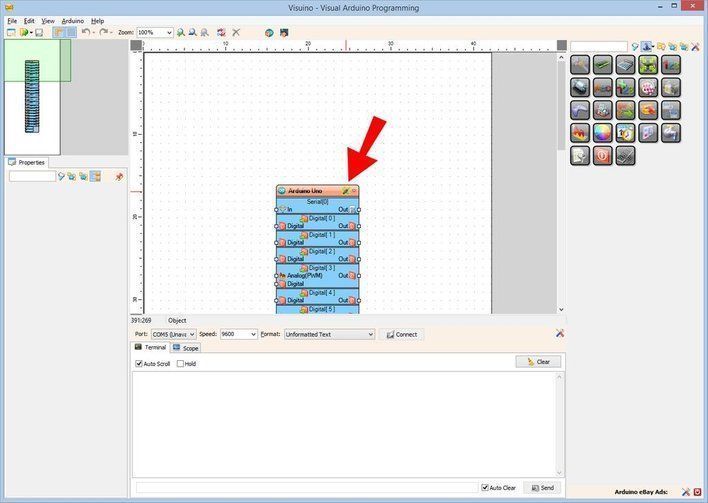
Please be aware that there are some critical bugs in Arduino IDE 1.6.6. Make sure that you install 1.6.7 or higher; otherwise, this will not work! If you have not done so, follow the steps to set up the Arduino IDE to program Arduino UNO! The Visuino: https://www.visuino.eu also needs to be installed. Start Visuino as shown in the first picture. Click on the "Tools" button on the Arduino component (Picture 1) in Visuino. When the dialog appears, select "Arduino UNO" as shown in Picture 2
In Visuino Add & Connect Components
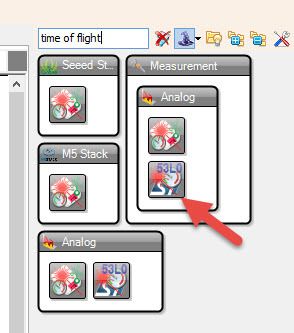
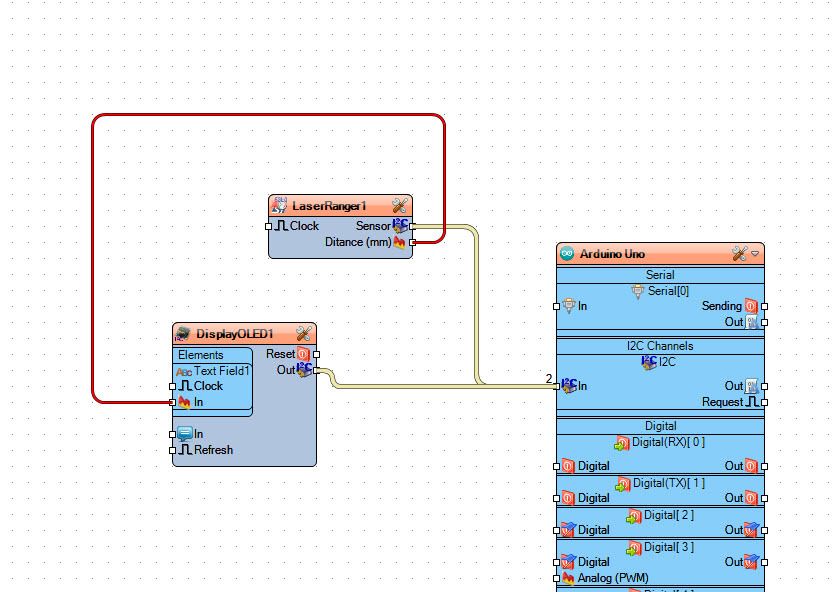
Add "Time Of Flight Laser Ranger VL53L0X" component
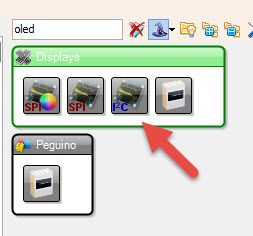
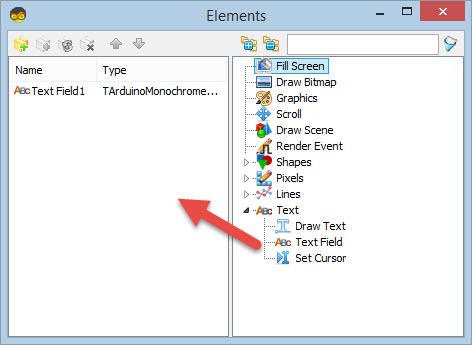
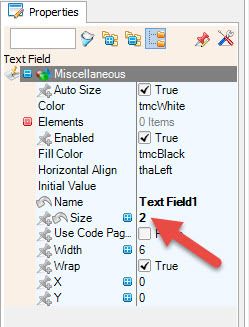
Add "SSD1306/SH1106 OLED Display (I2C)" component, Double click on the "DisplayOLED1" and in the elements window drag "Text Field" to the left and in the properties window set size:2
Connect LaserRanger1 pin Sensor I2C to Arduino pin I2C
Connect DisplayOLED1 pin Out I2C to Arduino pin I2C
Connect LaserRanger1 pin Distance (mm) to DisplayOLED1 pin Text Field1 > In
Generate, Compile, and Upload the Arduino Code
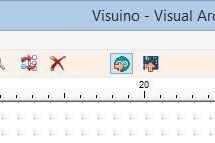
In Visuino, Press F9 or click on the button shown on Picture 1 to generate the Arduino code, and open the Arduino IDE
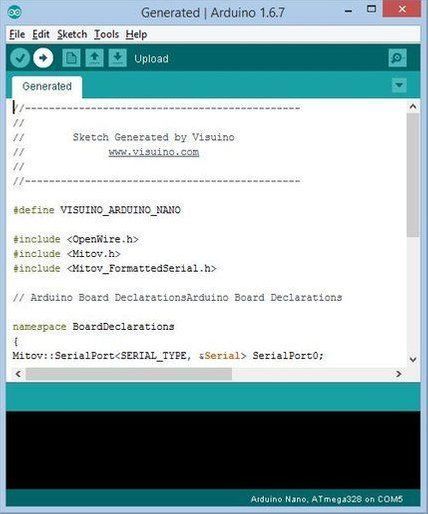
In the Arduino IDE, click on the Upload button, to compile and upload the code (Picture 2)
Play
If you power the Arduino UNO module, the OLED display should start displaying the distance in mm that it is getting from the Time of flight sensor, you can put some object in front of the sensor and the value will change.
Congratulations! You have completed your project with Visuino. Also attached is the Visuino project that I created for this; you can download it here and open it in Visuino: https://www.visuino.eu