Configuración
 Entrega rápida
 Tipos de pago


 Producto del mercado

Número de parte del fabricante 3544
LED RGB DIFFUSED 10MM T/H
Kitronik Ltd.

License: None LEDs / Discrete / Modules
Courtesy of Kitronik
Guide by Kitronik Guide
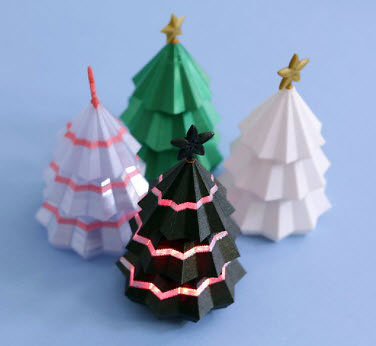
For day eight of our 12 Makes of Christmas we made some LED Silhouette Christmas Cards. Follow our step-by-step guide and make your own.
We've included all of the DXF files so that you can cut out our designs with a laser cutter. If you don't have access to a laser cutter, you can easily cut out your own designs by hand and still follow along with the instructions below.
You Will Need:
Laser cutter (optional)
Card, we used black card but any colour will do
Coloured tissue paper, any colours
6 x Laser cutter card design files and a pdf template for hand cutting, download them here.
LED Silhouette Christmas Cards:
Create your own LED Christmas cards using a copper tape circuit! Use our detailed laser cut designs, cut out the simpler designs by hand or design your own!
Step 1:
Cut out your chosen card design from some black or dark coloured card. The cutting files have been colour coded to indicate cutting order. For best results they should be cut in the following order.
• Red Lines - First.
• Green Lines - Second.
• Black Lines - Third.
Step 2:
Use some coloured tissue paper and rip up the edges to create the background for your scene.
Don’t use too many layers or the LEDs may not be visible – 3 to 5 is usually enough.
Step 3:
Begin glueing the layers of tissue paper to the rear of the card.
Glue them one layer at a time.
Until all of your layers are in place.
Step 4:
Plan out where you want to place your LEDs and cut some small slots, just enough for the pins to fit through.
Push the LEDs into place and spread the pins out, with the positive and negative pins facing opposite directions.
For this card I used some RGB LEDs – I cut the red pin and used the others together to create a turquoise colour.
Step 5:
Plan out your circuit, starting with the position of the battery (a CR2032 3V battery is recommended). The circuit needs to be laid out in parallel for all the LEDs to work. Place the copper tape down where the battery will be and create a loop passing over all of the negative pins.
For corners, fold the tape the opposite way and then back on itself as shown.
Step 6:
Create another loop of tape covering all of the positive pins, leading back to the battery.
Fold the tape back on itself to make a tab to go over the battery.
Create a loop of copper tape with the sticky side out to fix the battery in place.
Step 7:
Press the tab down over the battery and test that the LEDs turn on. If some of the LEDs are struggling to light up, add some extra tape to give a better connection.
Cut a small door into the back of the card as shown to allow access to the battery before gluing the inner piece of the card with the LEDs in place.
Use some more copper tape to fix the tab of the circuit to the door on the back of the card.
Use a paperclip to hold the circuit shut and light up the LEDs. If sending in a card, place a small piece of paper over the battery to break the circuit so the battery is not wasted.
This concludes the eighth of our 12 Makes of Christmas, we'll be back tomorrow for the last in this series of festive making activities. You can check out the other Makes of Christmas, here.
©Kitronik Ltd – You may print this page & link to it but must not copy the page or part thereof without Kitronik's prior written consent.